How to Update Cuda Driver on Windows 10
CUDA Toolkit on Windows 10
![]()
Here I am explaining a step by step method to install CUDA on Windows as most of the Youtube tutorials do it incompletely.
CUDA® is a parallel computing platform and programming model invented by NVIDIA. It enables dramatic increases in computing performance by harnessing the power of the graphics processing unit. (GPU)
First and Foremost you have to check the GPU version of your laptop or computer. To perform that click the bottom-left Start button on desktop, type device manager in the search box and tap Device Manager on the menu. You will get an interface like follow.

Check with the display adapters mentioned here. To install CUDA you need to have a CUDA enabled GPU. You can check it by this following site. Unlike OpenCL, CUDA-enabled GPUs are only available from NVIDIA.
Let's continue if your GPU is CUDA enabled. Now you have check the system information for your GPU. You can simply do that by right clicking on the desktop and select the NVIDIA Control Panel and open it. In that go to help tab and select System Information. In that, there is a components section as follows.
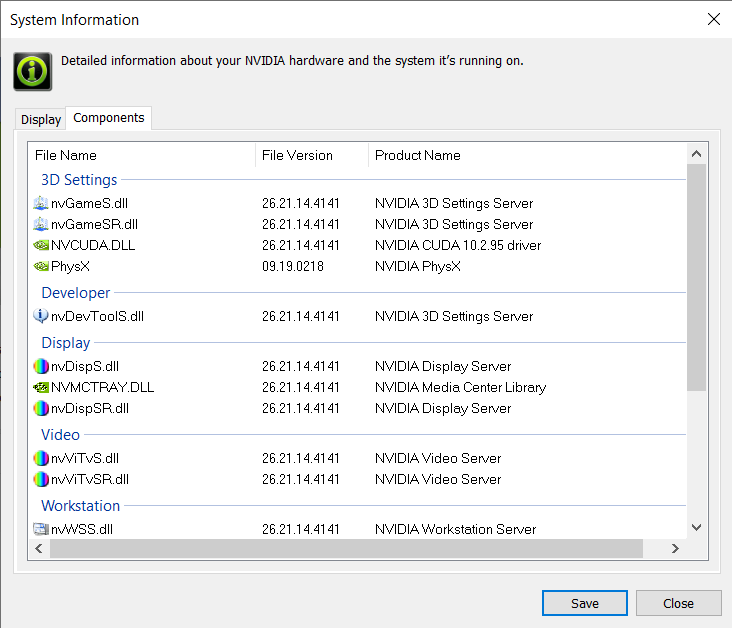
In that under NVCUDA.DLL it shows NVIDIA CUDA 10.2.95 Driver. The driver details might be changed due to updates. Depends on the driver details you have to select the required CUDA version. CUDA is not functioned properly if you are not installed the required one.
Now let's move to the installation part. According to the CUDA Driver version I am installing the CUDA toolkit by following link.
You can give the relevant details and select the correct version for you as follows.
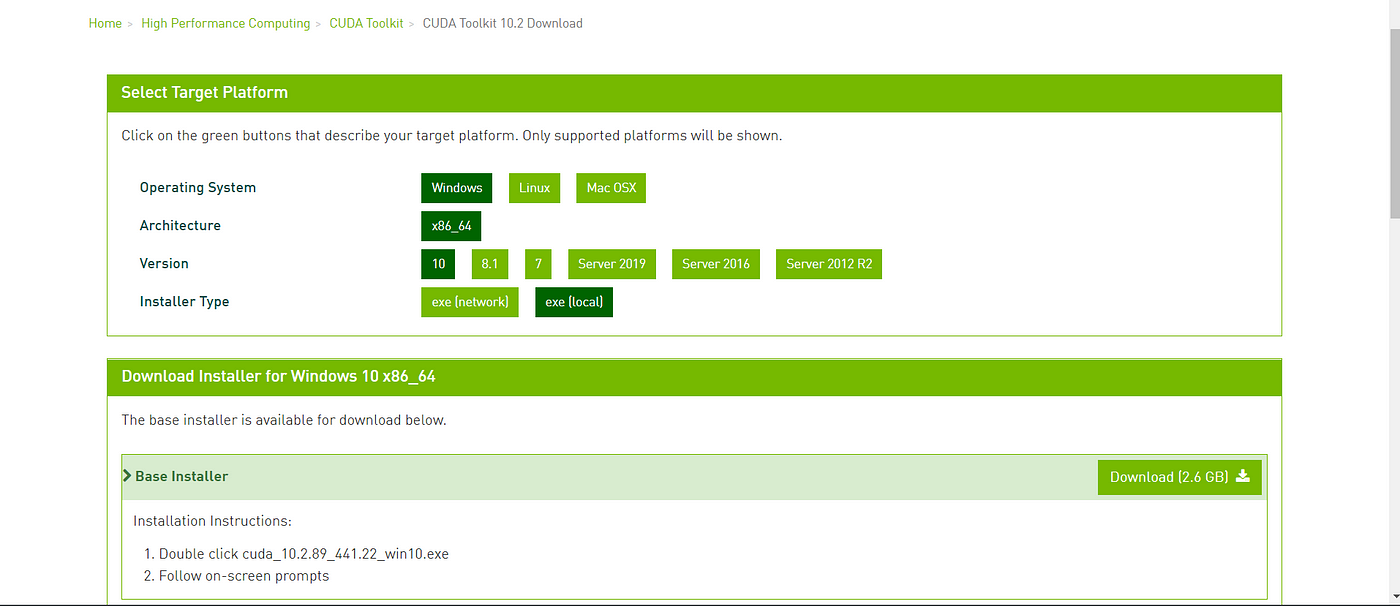
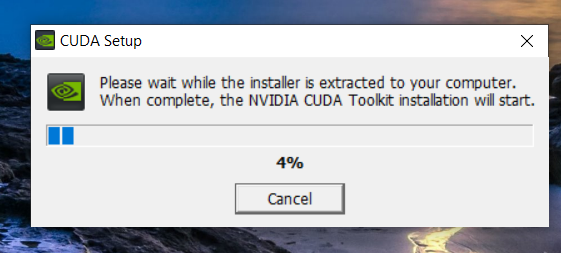
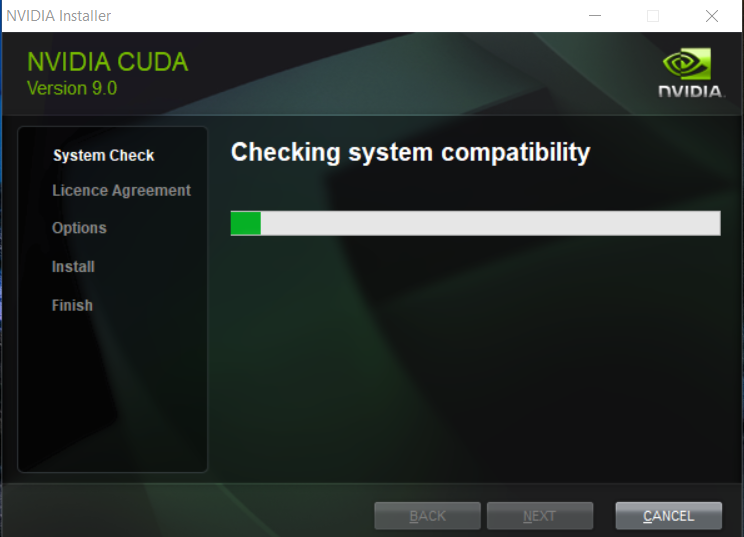
I prefer .exe (local) for the installer type. After downloading it , ready to install it. Simply continue with steps and use custom installation in installing process.
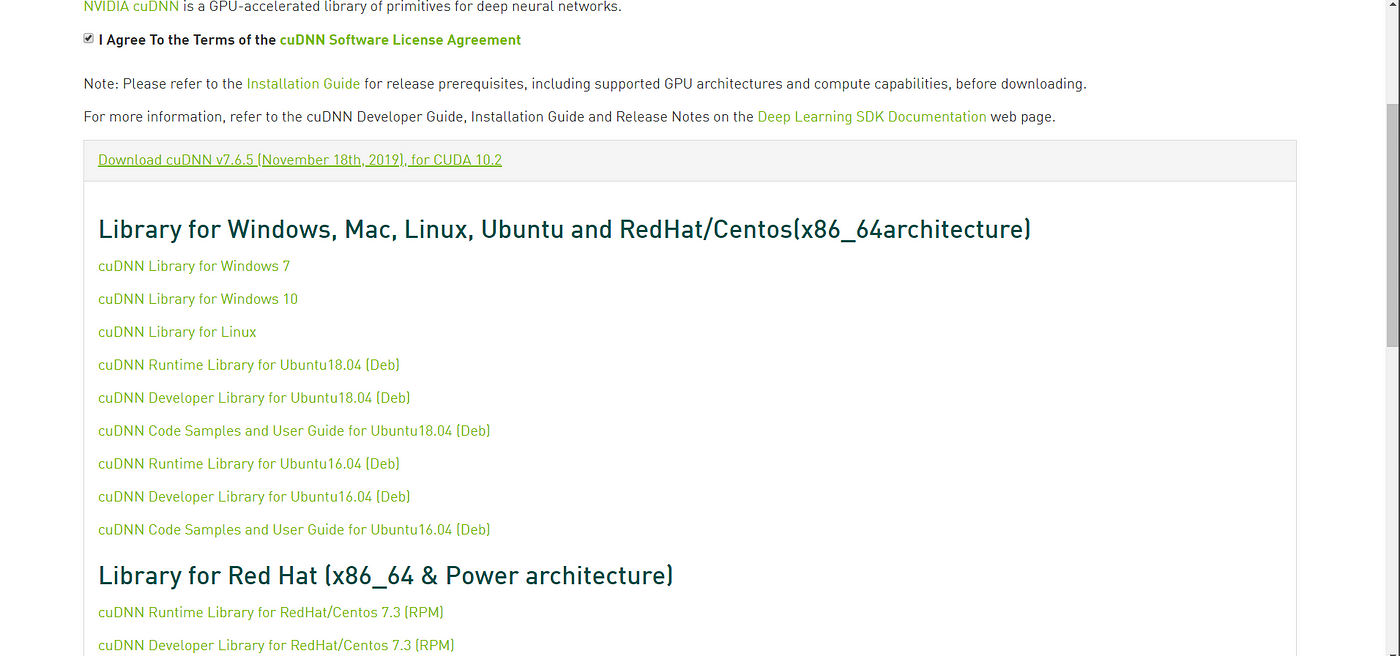
After finishing the CUDA Toolkit installation you have to install cuDNN on Windows 10 which is compatible with CUDA version. The NVIDIA CUDA Deep Neural Network library (cuDNN) is a GPU-accelerated library of primitives for deep neural networks. cuDNN provides highly tuned implementations for standard routines such as forward and backward convolution, pooling, normalization, and activation layers. cuDNN is part of the NVIDIA Deep Learning SDK.
cuDNN download link : https://developer.nvidia.com/cudnn
You have to create an account in order to download this.

Simply create and account and login using its credentials. By accepting the terms and condition you will be directed to the doanloading page. Download the correct version which is compatible to your CUDA version.
After downloading cuDNN , extract the file downloaded and open it. The file structure as follows.
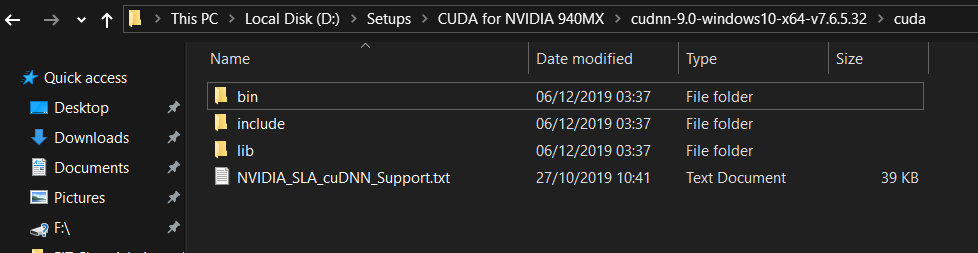
Copy the 3 folders and the text file and go to the location where NVIDIA GPU Computing Toolkit is located. Most probably it will be installed on C:\Program Files\NVIDIA GPU Computing Toolkit file path. ( It depends on the location you installed). As I previously installed CUDA version 9.0 on my laptop the CUDA files are existed in this following path location.
C:\Program Files\NVIDIA GPU Computing Toolkit\CUDA\v9.0
Now paste what you have copied from cuDNN extracted folder.
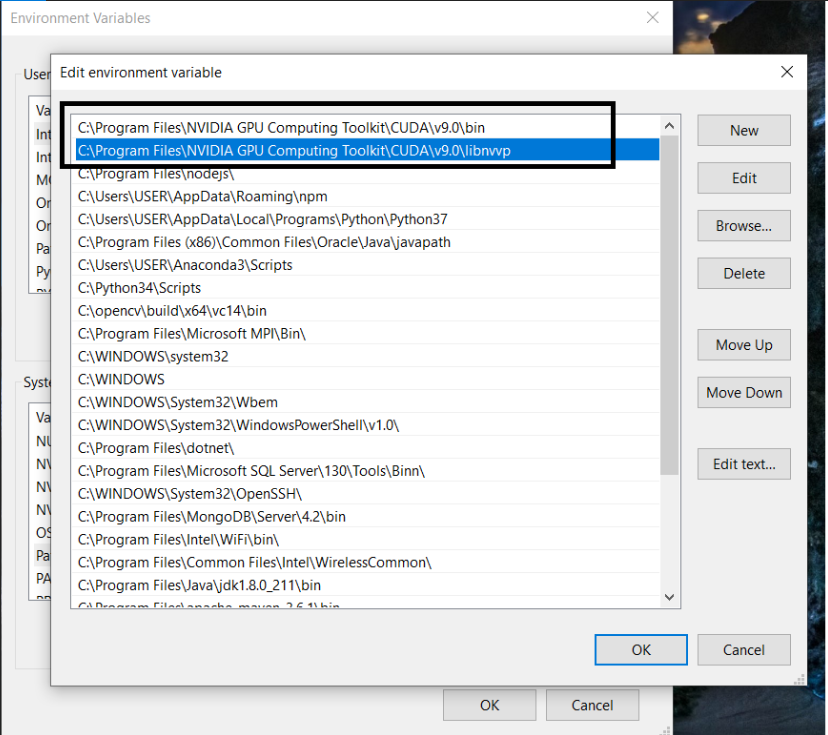
Now you have to add path on environmental variables as follows. Path in System Variable need to be updated.
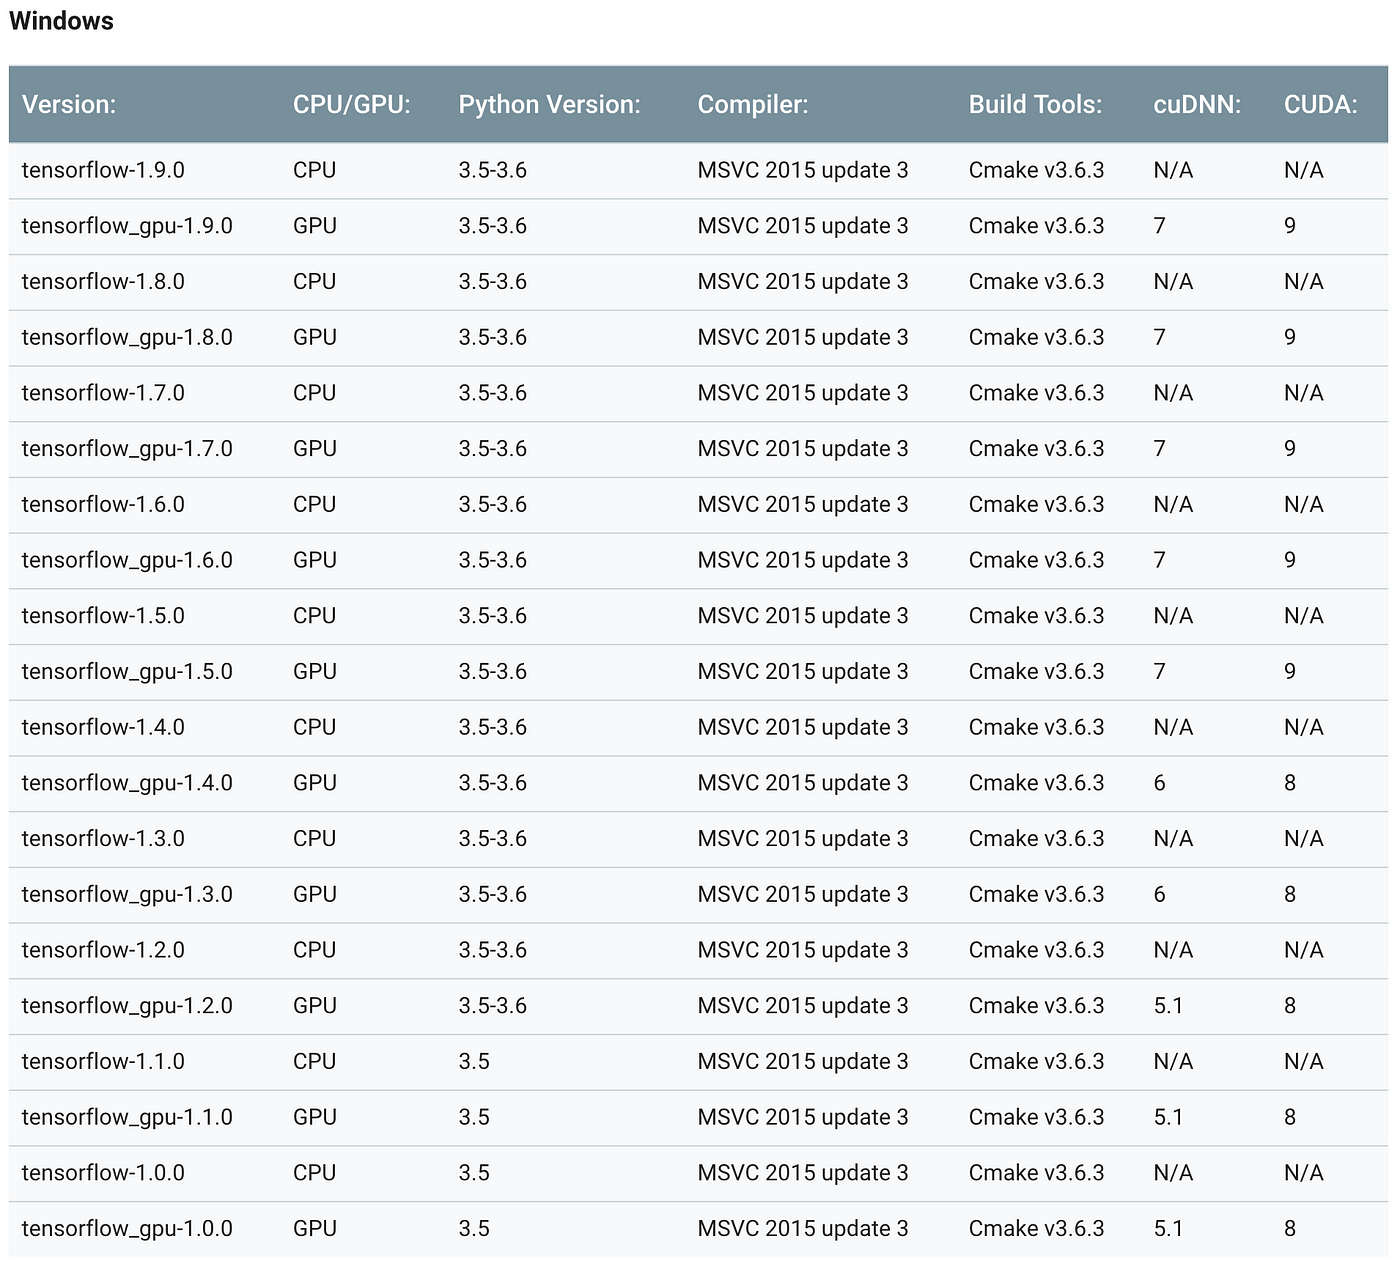
As CUDA is compatible mostly on Python 3.6 , I am creating an environment on Anaconda. Here it shows the Tensorflow and CUDA compatibility for Windows.
Open the Anaconda Navigator first. If you are not installed it install it by given link.
Anaconda installation link : https://www.anaconda.com/distribution/#download-section
Initially it supports Python 3.7 and you have a create an environment compatible with Python 3.6. As I used Python 3.6.5 version.
To create an environment you can use either Anaconda Navigator or Anaconda Prompt. Here I used Anaconda Prompt. Let's create the virtual environment.
conda create -n yourenvname python=x.x anaconda 
Activate the virtual environment
source activate yourenvname 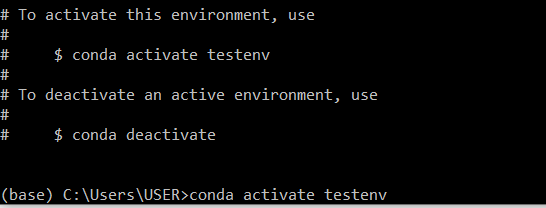
Now install compatible tensorflow version. Here I install 1.12.0 version.
conda install tensorflow==1.12.0 Then install the compatible tensorflow-gpu version. Here I install 1.12.0 version.
conda install tensorflow-gpu==1.12.0 Now launch Spyder under the virtual environment
spyder To verify whether CUDA Toolkit is installed correctly type this code in Spyder
          from tensorflow.python.client import device_lib
print(device_lib.list_local_devices())
If the output gives like this by mentioning the available GPUs ,CUDA installation is successful.
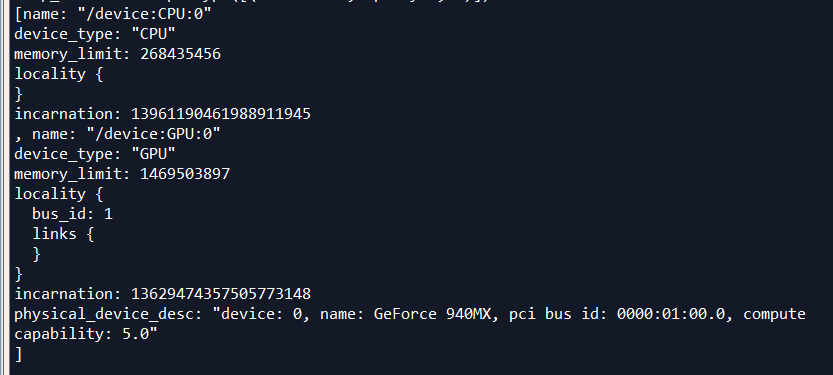
If it doesn't give an output as above there would be a problem with CUDA version you selected. Sometimes the mention CUDA version in the system information is not the exact version. So at that kind of situation change the CUDA version and try the process again. Hope you got something from this. Good luck !!!
How to Update Cuda Driver on Windows 10
Source: https://medium.com/analytics-vidhya/cuda-toolkit-on-windows-10-20244437e036